 最终效果
最终效果  1、打开原图素材大图,新建一个图层,用透明度为10%左右的柔边黑色画笔把路面及边缘过亮的部分涂暗,如下图。
 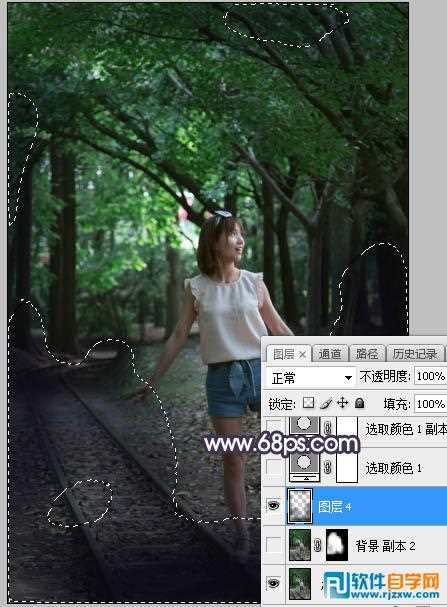 <图1> 2、创建可选颜色调整图层,对黄色、绿色、青色、白色进行调整,参数设置如图2 - 5,效果如图6。这一步把图片中的黄绿色转为橙黄色,并减少图片中的青色。
 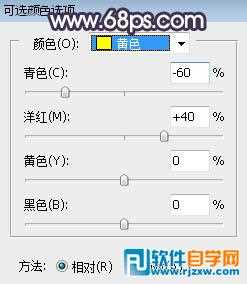 <图2>
<图2> 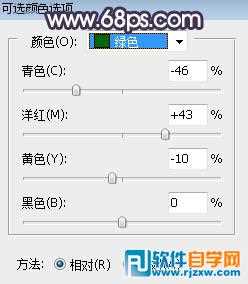 <图3>
<图3> 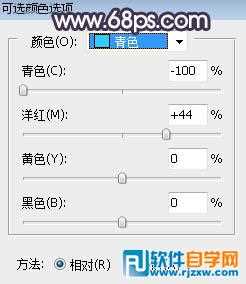 <图4>
<图4> 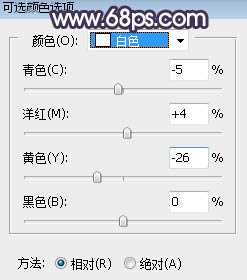 <图5>
<图5> 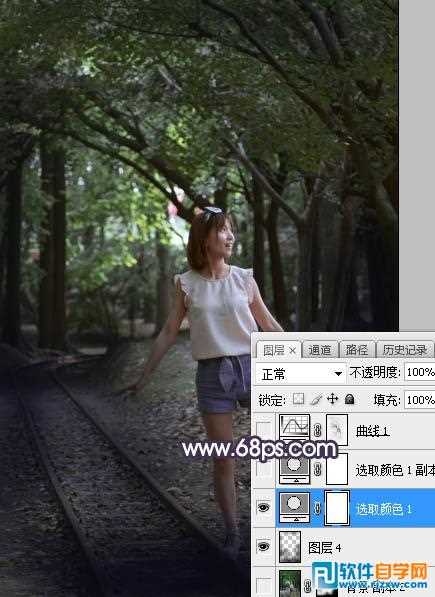 <图6> 3、按Ctrl + J 把当前可选颜色调整图层复制一层,不透明度改为:50%,效果如下图。
  <图7>
<图7> 以上就是photoshop外景调色教程,希望大家喜欢,请继续关注软科小院。